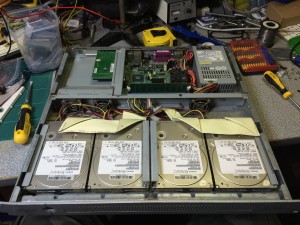
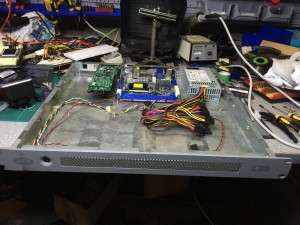
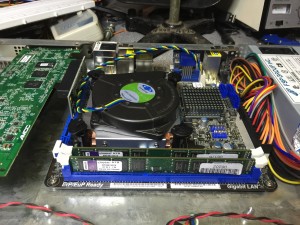
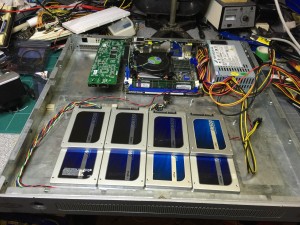
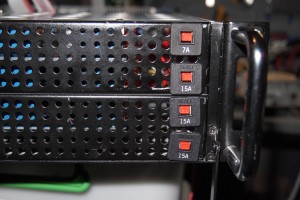
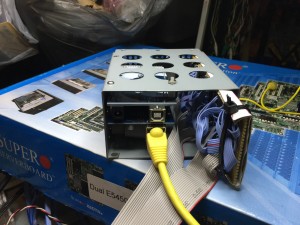
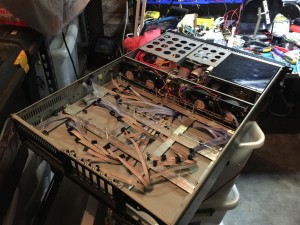
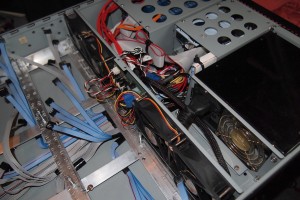
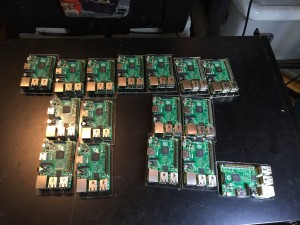
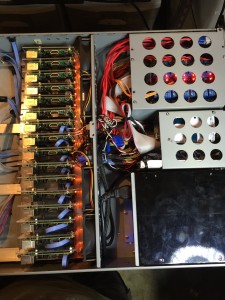
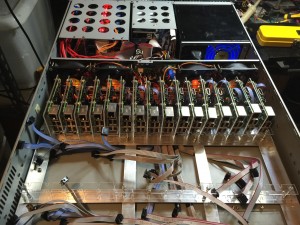
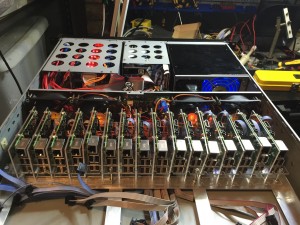
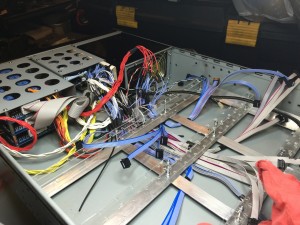
So, caching is built right into LVM these days. It’s quite neat. I’m testing this on my OTHER caching box – a shallow 1RU box with space for two SSD’s and that’s about it.
First step is to mount an ISCSI target. I’m just mounting a target I created on my fileserver, to save some latency (I can mount the main SAN from the DC, but there’s 15ms latency due to the EOIP tunnel over the ADSL here). There’s a much more detailed writeup of this Here
root@isci-cache01:~# iscsiadm -m discovery -t st -p 192.168.102.245 192.168.102.245:3260,1 iqn.2012-01.net.rendrag.fileserver:dedipi0
192.168.11.245:3260,1 iqn.2012-01.net.rendrag.fileserver:dedipi0

root@isci-cache01:~# iscsiadm -m node --targetname "iqn.2012-01.net.rendrag.fileserver:dedipi0" --portal "192.168.102.245:3260" --login
Logging in to [iface: default, target: iqn.2012-01.net.rendrag.fileserver:dedipi0, portal: 192.168.102.245,3260] (multiple)
Login to [iface: default, target: iqn.2012-01.net.rendrag.fileserver:dedipi0, portal: 192.168.102.245,3260] successful.

[ 193.182145] scsi6 : iSCSI Initiator over TCP/IP
[ 193.446401] scsi 6:0:0:0: Direct-Access IET VIRTUAL-DISK 0 PQ: 0 ANSI: 4
[ 193.456619] sd 6:0:0:0: Attached scsi generic sg1 type 0
[ 193.466849] sd 6:0:0:0: [sdb] 1048576000 512-byte logical blocks: (536 GB/500 GiB)
[ 193.469692] sd 6:0:0:0: [sdb] Write Protect is off
[ 193.469697] sd 6:0:0:0: [sdb] Mode Sense: 77 00 00 08
[ 193.476918] sd 6:0:0:0: [sdb] Write cache: disabled, read cache: enabled, doesn't support DPO or FUA
[ 193.514882] sdb: unknown partition table
[ 193.538467] sd 6:0:0:0: [sdb] Attached SCSI disk

root@isci-cache01:~# pvcreate /dev/sdb
root@isci-cache01:~# vgcreate vg_iscsi /dev/sdb

root@isci-cache01:~# pvdisplay
--- Physical volume ---
PV Name               /dev/sdb
VG Name               vg_iscsi
PV Size               500.00 GiB / not usable 4.00 MiB
Allocatable           yes
PE Size               4.00 MiB
Total PE              127999
Free PE               127999
Allocated PE          0
PV UUID               0v8SWY-2SSA-E2oL-iAdE-yeb4-owyG-gHXPQK
--- Physical volume ---
PV Name               /dev/sda5
VG Name               isci-cache01-vg
PV Size               238.24 GiB / not usable 0
Allocatable           yes
PE Size               4.00 MiB
Total PE              60988
Free PE               50784
Allocated PE          10204

PV UUID               Y3O48a-tep7-nYjx-gEck-bcwk-tJzP-2Sc2pP

root@isci-cache01:~# lvcreate -L 499G -n testiscsilv vg_iscsi
Logical volume "testiscsilv" created
root@isci-cache01:~# mkfs -t ext4 /dev/mapper/vg_iscsi-testiscsilv
mke2fs 1.42.12 (29-Aug-2014)
Creating filesystem with 130809856 4k blocks and 32702464 inodes
Filesystem UUID: 9aa5f499-902a-4935-bc67-61dd8930e014
Superblock backups stored on blocks:
32768, 98304, 163840, 229376, 294912, 819200, 884736, 1605632, 2654208,
4096000, 7962624, 11239424, 20480000, 23887872, 71663616, 78675968,
102400000
Allocating group tables: done
Writing inode tables: done

Creating journal (32768 blocks): done
Writing superblocks and filesystem accounting information: done
Now things get a little tricky, as I’d already installed my system with the ssd in one volume group.. I’ll be using a RAID array for the production box for PiCloud.
For now, we’ll just create an LV from the SSD VG, and then add it to the iscsi VG.
root@isci-cache01:~# lvcreate -L 150G -n iscsicaching isci-cache01-vg
Logical volume "iscsicaching" created
root@isci-cache01:~# vgextend vg_iscsi  /dev/mapper/isci--cache01--vg-iscsicaching
  Physical volume "/dev/isci-cache01-vg/iscsicaching" successfully created
  Volume group "vg_iscsi" successfully extended

root@isci-cache01:~# lvcreate -L 1G -n cache_meta_lv vg_iscsi /dev/isci-cache01-vg/iscsicaching
Logical volume "cache_meta_lv" created
root@isci-cache01:~# lvcreate -L 148G -n cache_lv vg_iscsi /dev/isci-cache01-vg/iscsicaching
  Logical volume "cache_lv" created
root@isci-cache01:~# lvs
LV            VG              Attr       LSize   Pool Origin Data%  Meta%  Move Log Cpy%Sync Convert
iscsicaching  isci-cache01-vg -wi-ao---- 150.00g
root          isci-cache01-vg -wi-ao----  30.18g
swap_1        isci-cache01-vg -wi-ao----   9.68g
cache_lv      vg_iscsi        -wi-a----- 148.00g
cache_meta_lv vg_iscsi        -wi-a-----   1.00g
  testiscsilv   vg_iscsi        -wi-a----- 499.00g

root@isci-cache01:~# pvs
PV                                VG              Fmt  Attr PSize   PFree
/dev/isci-cache01-vg/iscsicaching vg_iscsi        lvm2 a--  150.00g 1020.00m
/dev/sda5                         isci-cache01-vg lvm2 a--  238.23g   48.38g
  /dev/sdb                          vg_iscsi        lvm2 a--  500.00g 1020.00m

Now we want to convert these two new LV's into a 'cache pool'
root@isci-cache01:~# lvconvert --type cache-pool --poolmetadata vg_iscsi/cache_meta_lv vg_iscsi/cache_lv
WARNING: Converting logical volume vg_iscsi/cache_lv and vg_iscsi/cache_meta_lv to pool's data and metadata volumes.
THIS WILL DESTROY CONTENT OF LOGICAL VOLUME (filesystem etc.)
Do you really want to convert vg_iscsi/cache_lv and vg_iscsi/cache_meta_lv? [y/n]: y
Logical volume "lvol0" created
  Converted vg_iscsi/cache_lv to cache pool.
And now we want to attach this cache pool to our iscsi LV.
root@isci-cache01:~# lvconvert --type cache --cachepool vg_iscsi/cache_lv vg_iscsi/testiscsilv
  Logical volume vg_iscsi/testiscsilv is now cached.


root@isci-cache01:~# dd if=/dev/zero of=/export/test1 bs=1024k count=60
60+0 records in
60+0 records out
62914560 bytes (63 MB) copied, 0.0401375 s, 1.6 GB/s
root@isci-cache01:~# dd if=/dev/zero of=/export/test1 bs=1024k count=5000
^C2512+0 records in
2512+0 records out
2634022912 bytes (2.6 GB) copied, 7.321 s, 360 MB/sroot@isci-cache01:~# ls -l
total 0
root@isci-cache01:~# dd if=/export/test1 of=/dev/null
5144576+0 records in
5144576+0 records out
2634022912 bytes (2.6 GB) copied, 1.82355 s, 1.4 GB/s
Oh yeah! Over a 15mbps network too!
Now we want to setup XFS quotas so we can have a quota per directory.
root@isci-cache01:/# echo "100001:/export/mounts/pi-01" >> /etc/projects
root@isci-cache01:/# echo "pi-01:10001" >> /etc/projid
root@isci-cache01:/# xfs_quota -x -c 'project -s pi-01' /export
root@isci-cache01:/# xfs_quota -x -c 'limit -p bhard=5g pi-01' /export

root@isci-cache01:/# xfs_quota -x -c report /export
Project quota on /export (/dev/mapper/vg_iscsi-testiscsilv)
Blocks
Project ID       Used       Soft       Hard    Warn/Grace
---------- --------------------------------------------------
pi-01         2473752          0    5242880     00 [--------]
Note: Need the thin-provisioning-tools package, and to ensure that your initramfs gets built with the proper modules included.
Sweet, so we CAN do this 🙂
